

Create a workflow
You create a workflow by giving Anthara a YAML file. This page shows how to create one, change it, turn it off, and delete it.
Before you begin
Section titled “Before you begin”- Write the YAML first. Build your first workflow has a small example.
- If the YAML names a connection, that connection must already exist under Connections. See Connections.
Create the workflow
Section titled “Create the workflow”- Open Agentic Workflows.
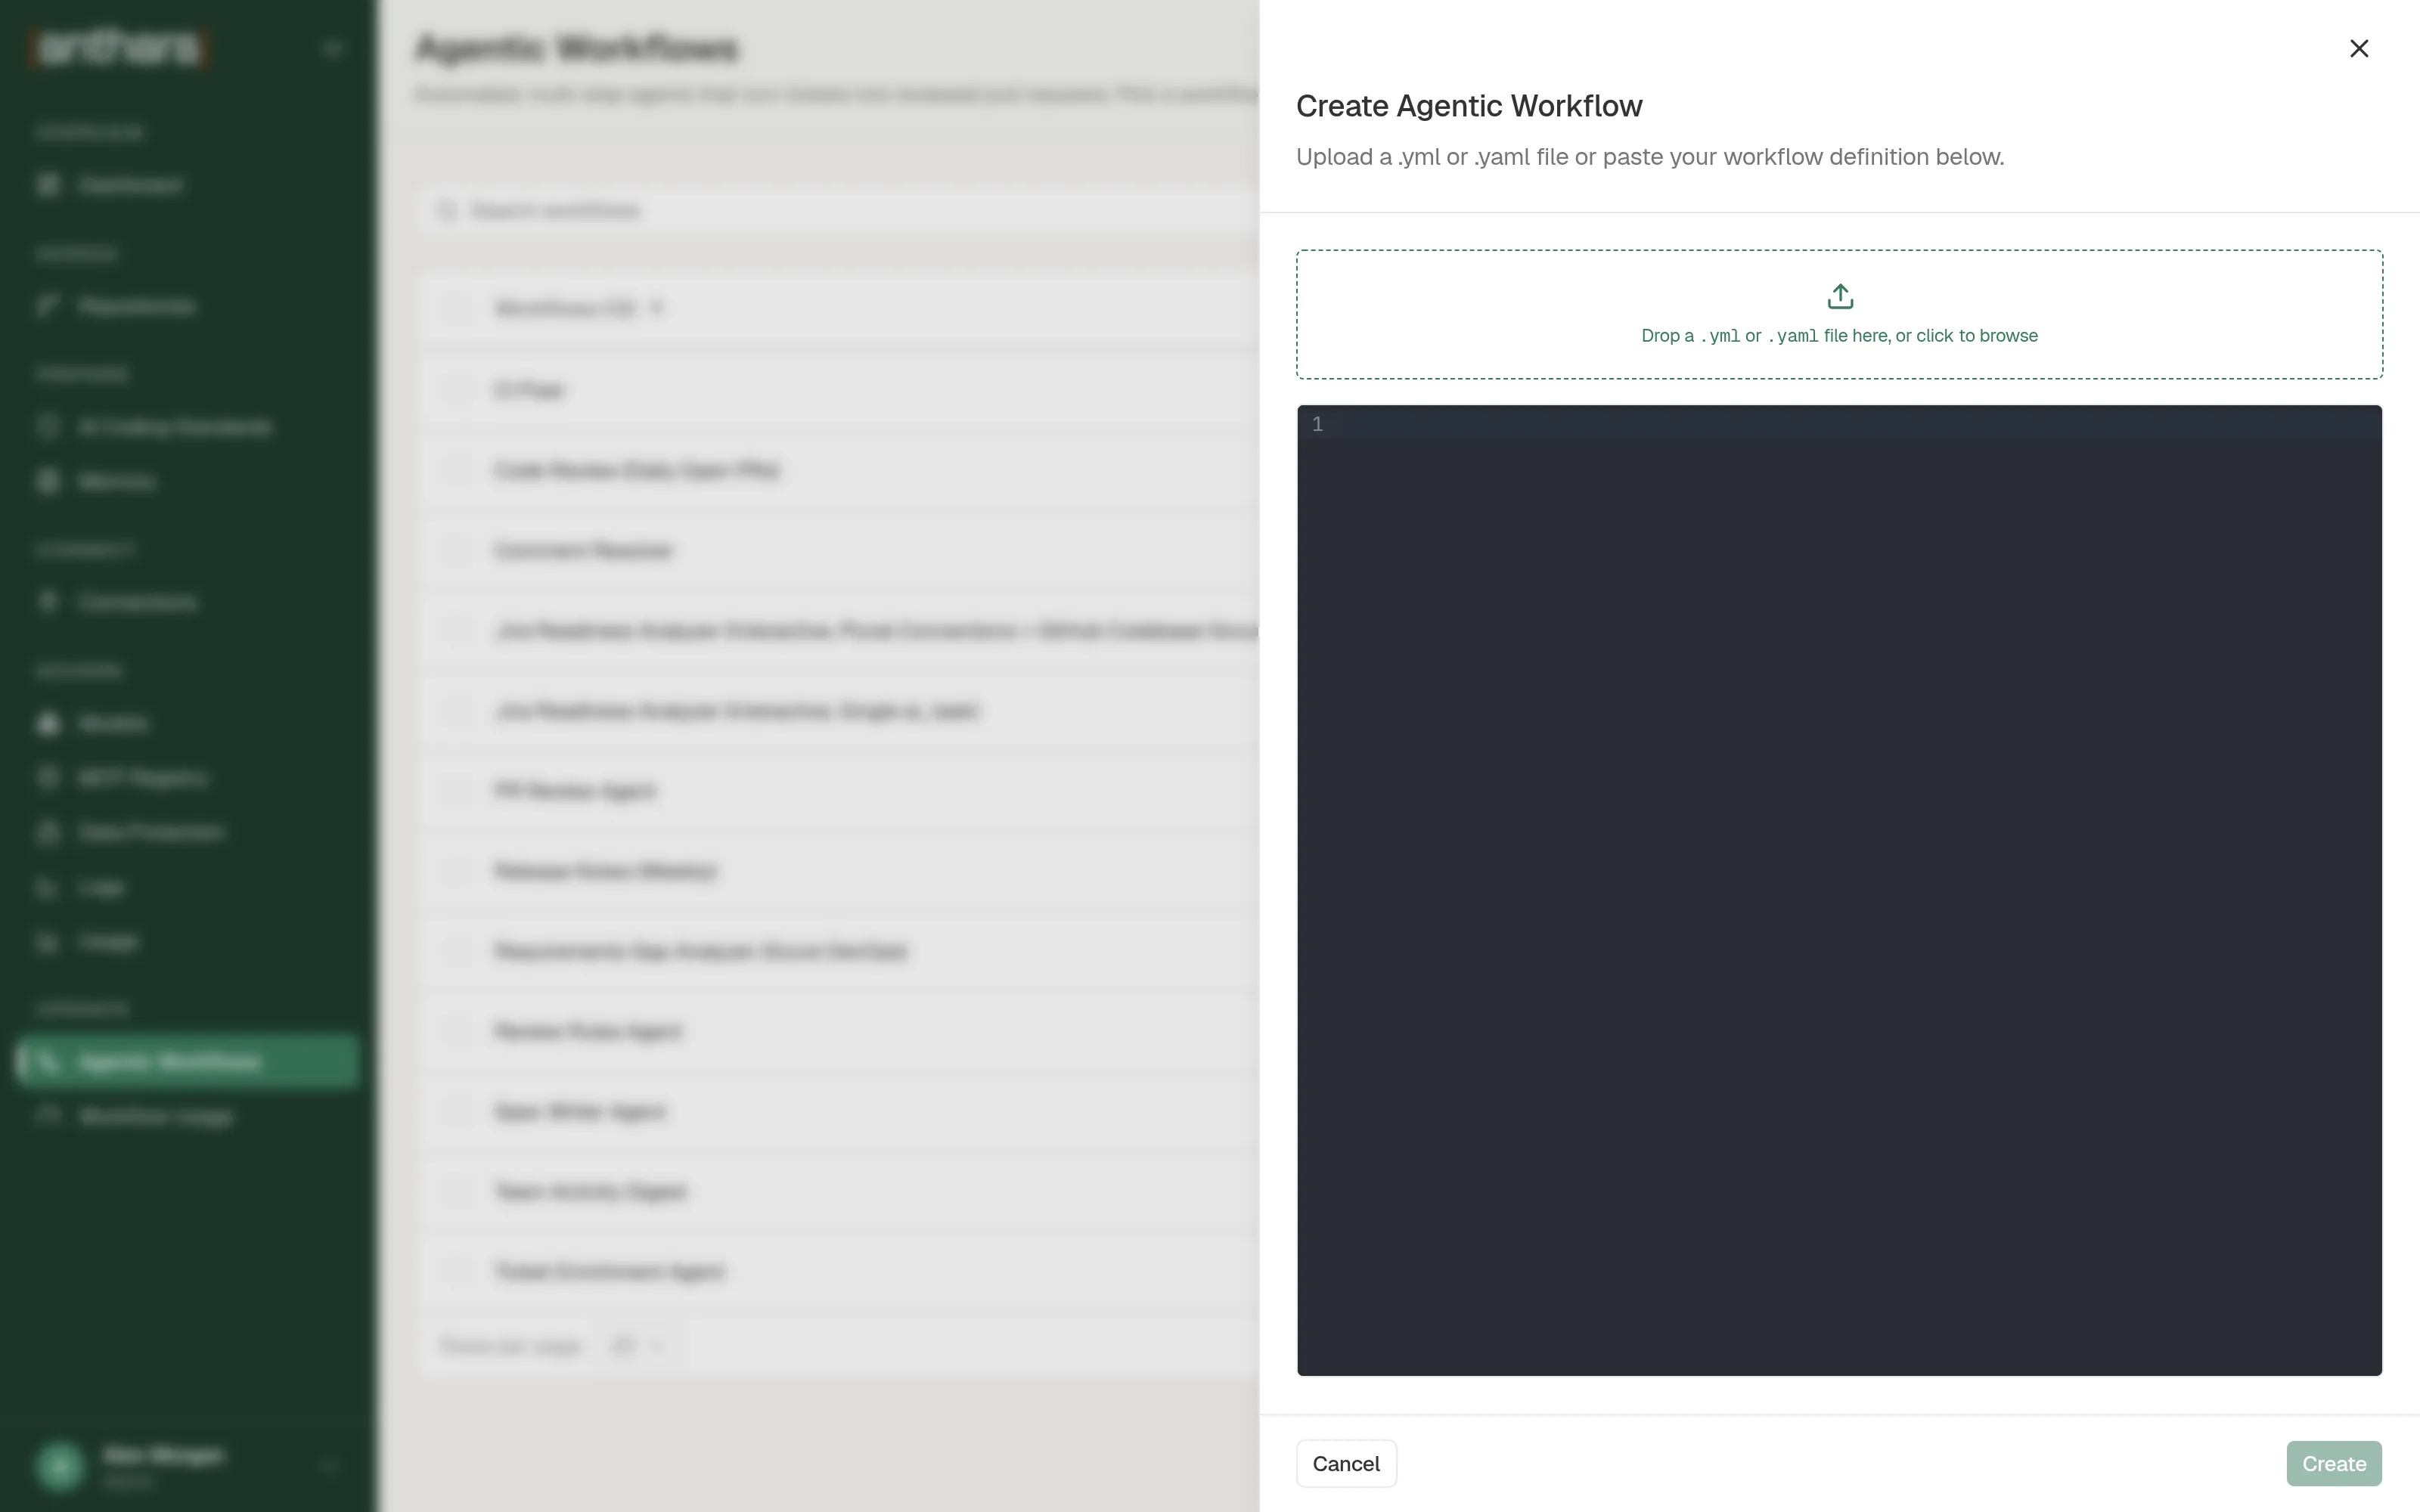
- Select Create Agentic Workflow.
- Drop a
.ymlor.yamlfile onto the panel. You can also paste the YAML into the editor. - Select Create.
The new workflow appears in the list. It is enabled as soon as it is created.
Fix a rejected workflow
Section titled “Fix a rejected workflow”If the YAML has a problem, the panel shows Failed to create: followed by the reason. Fix the YAML and select Create again.
| Message | What to fix |
|---|---|
Missing required field: slug |
Add a slug line at the top level. |
Workflow slug "..." is already in use |
Choose a slug that no other workflow uses. |
Unknown trigger type: ... |
Use manual, cron, github, or azure_devops. |
Step 0: missing required field 'name' |
Give every step a name. Steps are counted from 0. |
Unrecognized connection(s): ... |
Use the exact name of a connection that exists under Connections. |
Edit the workflow
Section titled “Edit the workflow”- In the list, open the row menu and select Edit.
- Change the YAML in the editor.
- Select Save.
Anthara checks the YAML again when you save. Runs that already started keep the YAML they started with.
Turn the workflow off or on
Section titled “Turn the workflow off or on”Use the switch in the Enabled column.
- Off stops the workflow from starting new runs.
- On lets it start runs again.
Delete the workflow
Section titled “Delete the workflow”- In the list, open the row menu and select Delete.
- Confirm in the Delete Workflow dialog.
A deleted workflow cannot be restored. To delete several workflows, tick their rows and use the delete action above the table.